



How to Dry Clean at Home (Without Ruining Anything)
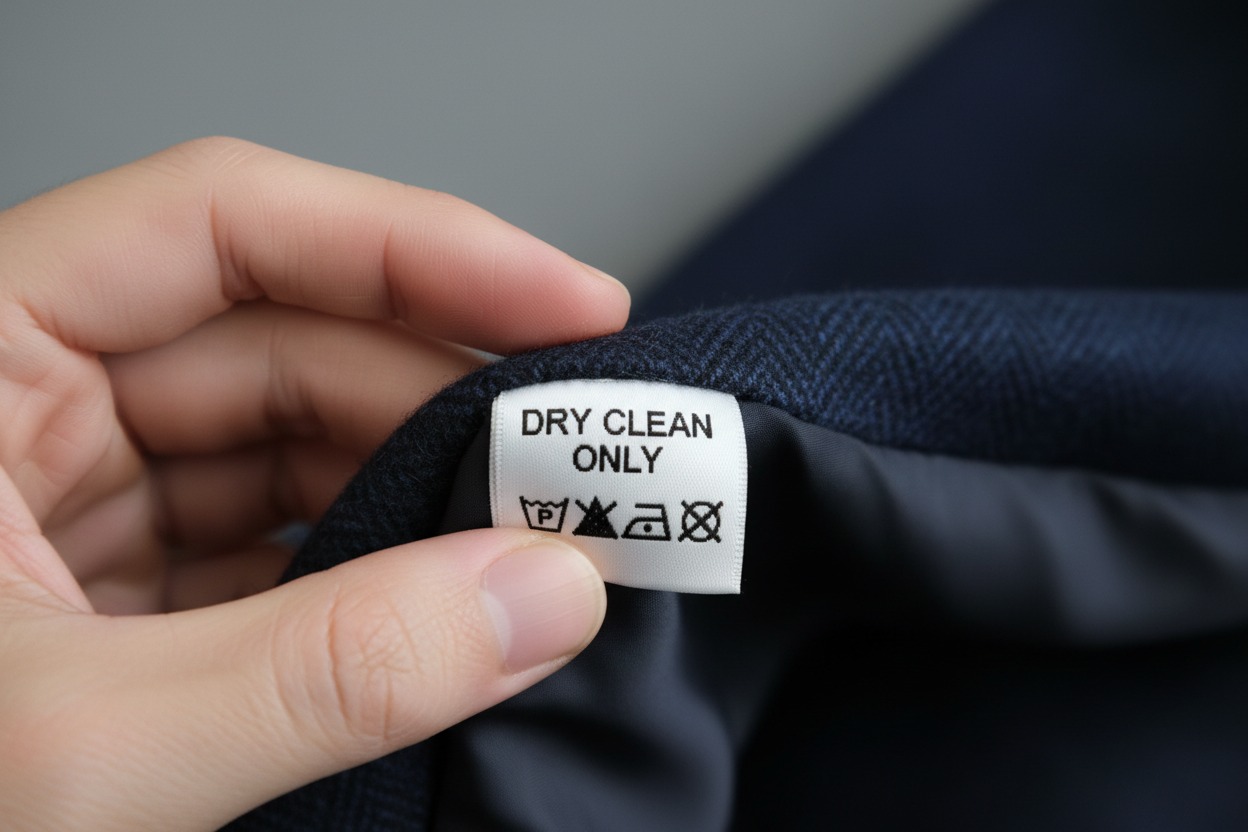
You pull your favorite blazer out of the closet, catch a whiff of “it’s been worn twice,” and see that little tag glaring back at you: Dry Clean Only.
Your first thought is probably the same as everyone else’s: ugh, another $15 and a trip across town.
Here’s the thing nobody tells you at the counter — most of what gets labeled “dry clean only” doesn’t actually need a chemical dry cleaner at all. It needs the right technique. And you can do that technique in your own laundry room tonight, for free.
I tested many methods to find what really works, not just internet myths. This guide covers all real options: a washing machine, a dryer, a steamer, hand washing, and even cleaning without tools. It also explains fabric care, common mistakes that damage clothes, and when you should still use a cleaner. Clear and simple, no extra info.
By the end, you’ll know exactly how to dry clean at home, which garments are fair game, and which ones you should leave to the professionals.
What “Dry Clean Only” Actually Means
Here’s the part almost every blog skips: that label isn’t really about the garment being fragile. It’s a legal disclosure.
In the U.S., all clothing makers must put a care label on their products under the Federal Trade Commission’s Care Labeling Rule. The rule requires manufacturers to list only one safe way to clean the item. Dry cleaning is often chosen because it is the cheapest and safest option. According to the FTC, “dry clean only” means the item can be safely dry cleaned with any common solvent. It also serves as a warning not to wash the item, even if washing might not harm it.
That’s important because it means “dry clean only” is often a legal safety net for the brand, not proof that water will destroy your shirt. Manufacturers rarely spend money testing whether a fabric also survives a gentle hand wash — it’s cheaper to just print “dry clean only” and move on.
That doesn’t mean you should ignore every label. It means you should learn to read the fabric, not just the tag. That’s what the rest of this guide teaches you.
Can You Really Dry Clean at Home? Myth vs. Reality
Let’s clear this up first: you can’t exactly copy commercial dry cleaning at home. Real dry cleaning uses a liquid solvent (usually synthetic, since traditional perchloroethylene, or “perc,” is being phased out) in a sealed, rotating drum to remove oil stains without water.
What you can do at home falls into three honest categories:
| Home Method | What It Actually Does | Best For |
|---|---|---|
| Steaming / dryer refresh | Removes wrinkles, light odor, and dust | Lightly worn clothes, between-cleans refresh |
| Hand washing / gentle machine wash | Removes body oils, sweat, food stains, and most soil | Wool, silk, linen, cotton blends, cashmere |
| Spot cleaning with solvent pads | Targets a specific stain without full cleaning | Small, fresh, oil-based stains |
None of these is “fake dry cleaning”. They’re legitimate cleaning methods that work for the right fabrics. The goal isn’t to trick the tag. It’s to match the method to the material.
Rule of thumb: if the tag says “Dry Clean Only” and the fabric is cotton, linen, polyester, or a sturdy wool blend, home cleaning is usually safe. If it says “Dry Clean Only” and it’s silk chiffon, rayon, taffeta, leather, suede, fur, or anything heavily beaded or lined, that’s when you take the risk seriously.
How to Tell If a Garment Is Safe to Clean at Home
Before you touch a washer dial or a steamer, run these three quick checks.
1. The Fabric Check
Turn the garment inside out and check the fabric content tag (usually stitched next to the care label).
- Generally safe: cotton, linen, polyester, nylon, sturdy wool, cashmere (with care), acrylic
- Proceed carefully: silk, rayon, viscose, blends with spandex or Lycra
- Leave to the pros: leather, suede, fur, fiberglass, heavily beaded or sequined garments, structured tailoring with fusible interfacing
2. The Color-Bleed Test
Dab a white cotton swab in cool water, and press it against an inside seam or hem. Rub gently for a few seconds.
If any color transfers onto the swab, stop. That fabric is prone to bleeding or dye migration, and a wash, even a gentle one, could leave permanent blotches or fading.
3. The Structure Check
Suits, blazers, and tailored coats often have fusible interfacing. It is a glued fabric layer inside the collar and lapels that gives them shape. Water and heat can loosen that glue, causing bubbling or puckering that no amount of ironing will fix.
If you can feel a stiff, structured layer under the outer fabric (common in blazers, structured dresses, and lined coats), treat that piece with extra caution or stick to spot cleaning and steaming rather than a full wash.
What You Need for Dry Cleaning at Home
You’ve got two paths here: buy a kit, or use what’s already in your kitchen and laundry closet. Both work. Here’s what each involves.
Option 1: Using an At-Home Dry Cleaning Kit
Kits like the ones sold by mainstream detergent brands are essentially a dryer-activated cleaning cloth plus stain-removal wipes. They’re built for light refreshing, not deep cleaning. Think “I wore this to one meeting”, not “I spilled an entire pasta dinner on this.”
How it works:
- Spot-treat any visible stains with the included pre-treatment pen or wipe.
- Place the garment in the dryer along with the moist cleaning cloth from the kit.
- Run on medium heat for about 20–30 minutes (check the box — timing varies by brand).
- Remove immediately and hang to prevent new wrinkles from setting.
Kits are convenient, but they don’t remove deep-set stains, sweat buildup, or heavy soil. They’re a “freshen up between cleanings” tool, not a substitute for actual cleaning.
How to Dry Clean at Home Without a Kit
No kit? No problem. You can build your own version with things you likely already own.
What you’ll need:
- A clean sink, basin, or tub
- Mild detergent (a wool- or delicate-safe formula works best. Regular detergent is often too harsh)
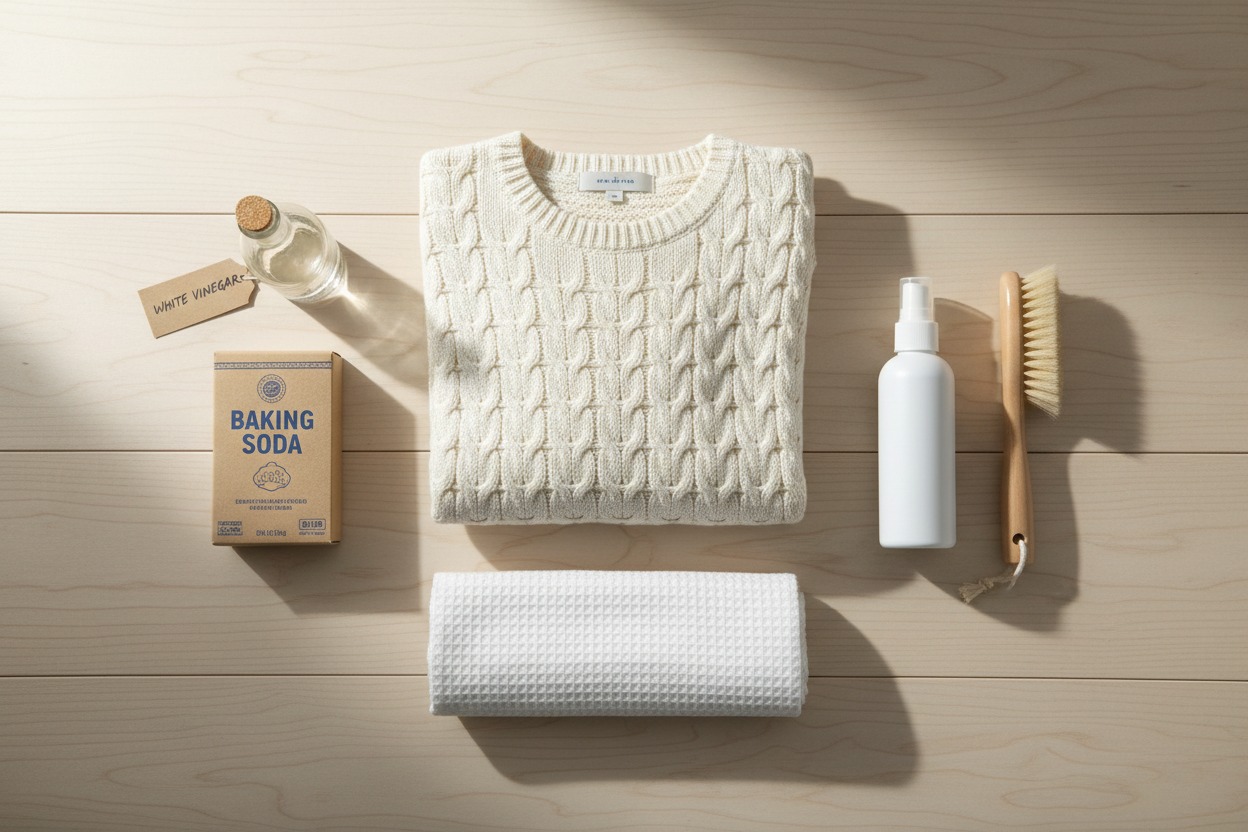
- White vinegar (for odor and as a gentle stain lifter)
- Baking soda (for odor absorption and as a stain paste)
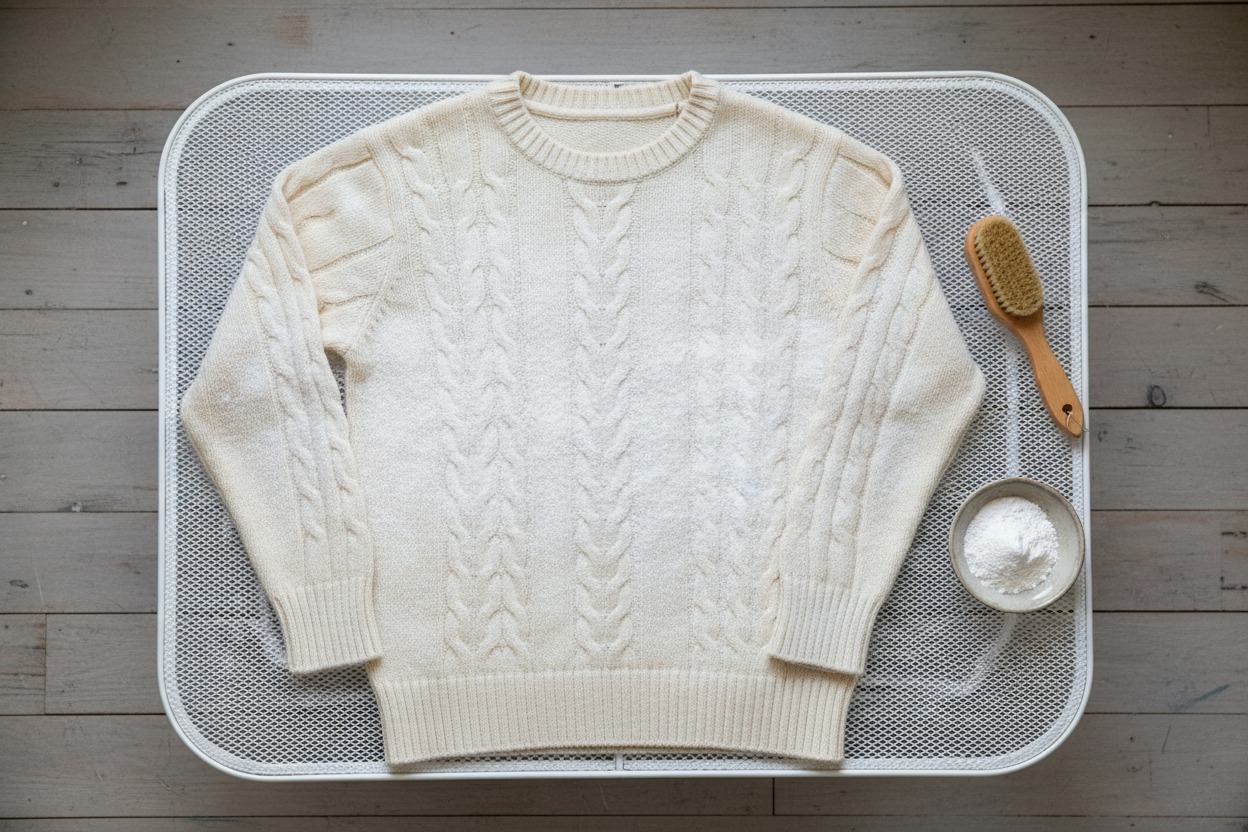
- A soft-bristled clothing brush (for wool, cashmere, and dust removal)
- Cotton swabs or a clean cloth
- A large towel (for blotting and rolling garments dry)
- A steamer or handheld iron with a steam setting (optional, but very useful)
That’s genuinely it. This “no-kit” method covers roughly 90% of what a store-bought kit promises, and it costs a fraction of the price.
How to Dry Clean at Home in the Dryer
This is the fastest method, and it’s genuinely the closest thing to what a store-bought kit does, minus the branded cloth.
Step-by-step:
- Check the fabric tag. This method works best for wool, cotton blends, and polyester. Skip it for silk, rayon, or anything with delicate trim. Dryer heat can shrink or warp those fibers.
- Spot-treat any stains first (see the stain section below). The dryer won’t lift a stain on its own; heat can actually set it permanently if you skip this step.
- Dampen a plain cotton washcloth with water, wring it out so it’s just damp (not dripping), and add 2–3 drops of a mild, fragrance-free detergent or a few drops of essential oil if you want a light scent.
- Place the garment in the dryer with the damp cloth and a couple of wool dryer balls or clean tennis balls to help circulate air and reduce wrinkling.
- Run on medium heat for 15–20 minutes, no longer. Extended dryer time on delicate fibers causes shrinkage and fiber breakdown.
- Remove the garment immediately once the cycle ends, and hang it right away to release any remaining wrinkles while it’s still slightly warm.
This method is great for freshening up wool coats, sweaters, and structured jackets between full cleans — it lifts light odor and loosens wrinkles, but it will not remove a real stain.
How to Dry Clean at Home With Washing Machine
This is the method most people actually want, and it works for more fabrics than you’d expect.
Which fabrics can go in the machine:
Cotton, linen, polyester, nylon, most wool blends, and sturdy cashmere can typically survive a gentle machine cycle if you follow the right settings. In fact, cleaning experts at Taste of Home point out that cotton, polyester, linen, and even silk and wool can usually be safely washed at home when the right steps are followed.
Step-by-step:
- Turn the garment inside out. This protects the outer surface from friction and pilling.
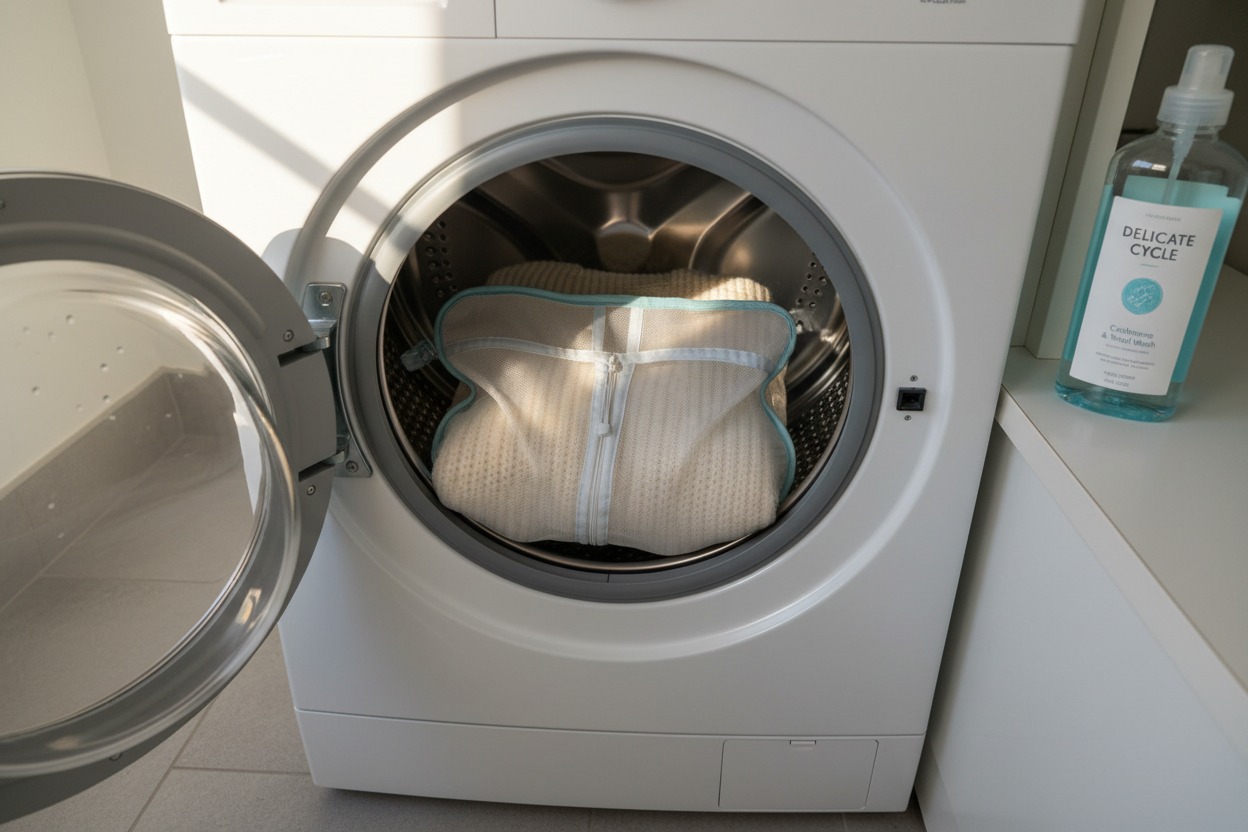
- Put it inside a mesh laundry bag. This is the single most important step people skip. A mesh bag dramatically reduces the tumbling and abrasion that damages delicate fibers.
- Use a wool-safe or delicate detergent (avoid anything with bleach, brighteners, or strong enzymes).
- Select the delicate or hand-wash cycle, cold water only. Cold water prevents shrinkage, color bleeding, and fiber distortion — the gentle cycle uses a low-speed spin and mild wash action that reduces the risk of damaging or tangling clothes, and cold water makes clothes far less likely to shrink, fade, or pill.
- Skip the spin cycle if your machine allows it, or use the lowest available spin speed. High-speed spinning is what stretches out sweater shapes and crushes structured shoulders.
- As soon as the cycle finishes, remove the garment immediately. Don’t let it sit damp in the drum, which can set wrinkles and encourage a mildew smell.
- Lay flat on a clean towel to dry, reshaping the garment (especially sweaters) while it’s still damp.
One caveat: never machine wash anything the tag specifically marks with a “Do Not Wash” symbol (a washtub with an X through it) — that symbol overrides the general dry-clean-only text and means the fabric is genuinely unsafe for water exposure.
How to Dry Clean at Home Without a Machine
No washer available, or dealing with something too delicate to risk in one? Hand washing is actually the gentlest method there is. Professional cleaners use a similar controlled process for their most fragile pieces.
Step-by-step:
- Fill a clean sink, basin, or bathtub with cool water.
- Add a small amount of mild, delicate-fabric detergent and swirl the water gently to distribute the suds — don’t dump detergent directly onto the fabric.
- Submerge the garment and gently press and swish it through the water with your hands. Never wring, twist, or scrub — that’s what stretches fibers and breaks down delicate weaves.
- Drain the soapy water, then refill with clean, cool water to rinse. Repeat until no suds remain.
- Gently press out excess water (don’t wring). Roll the garment in a dry towel and press down to absorb more moisture.
- Lay flat on a fresh, dry towel, reshape the garment to its original dimensions, and let it air-dry away from direct sunlight or heating vents.
This method takes longer, but it’s the safest option for silk blouses, fine wool, and cashmere — anything you’d genuinely be upset to lose.
Wool and cashmere tip: blot a fresh stain with a cloth dipped in club soda before you start the full wash. It lifts a surprising amount of surface soil without any scrubbing.
How to Dry Clean at Home With a Steamer
A garment steamer is, honestly, the most underrated tool in this entire process. It doesn’t clean the way water does, but it does three things a lot of people don’t realize:
- Relaxes wrinkles without the risk of scorching, unlike a hot iron
- Kills a portion of surface bacteria and loosens embedded odor molecules through heat and moisture
- Refreshes wool and structured garments (blazers, coats) that you don’t want to fully wash too often
Step-by-step:
- Hang the garment on a sturdy hanger, ideally in a well-ventilated area, such as near an open closet door or in the bathroom.
- Fill the steamer with clean water and let it heat up fully before starting; using it too early leads to sputtering and water spots.
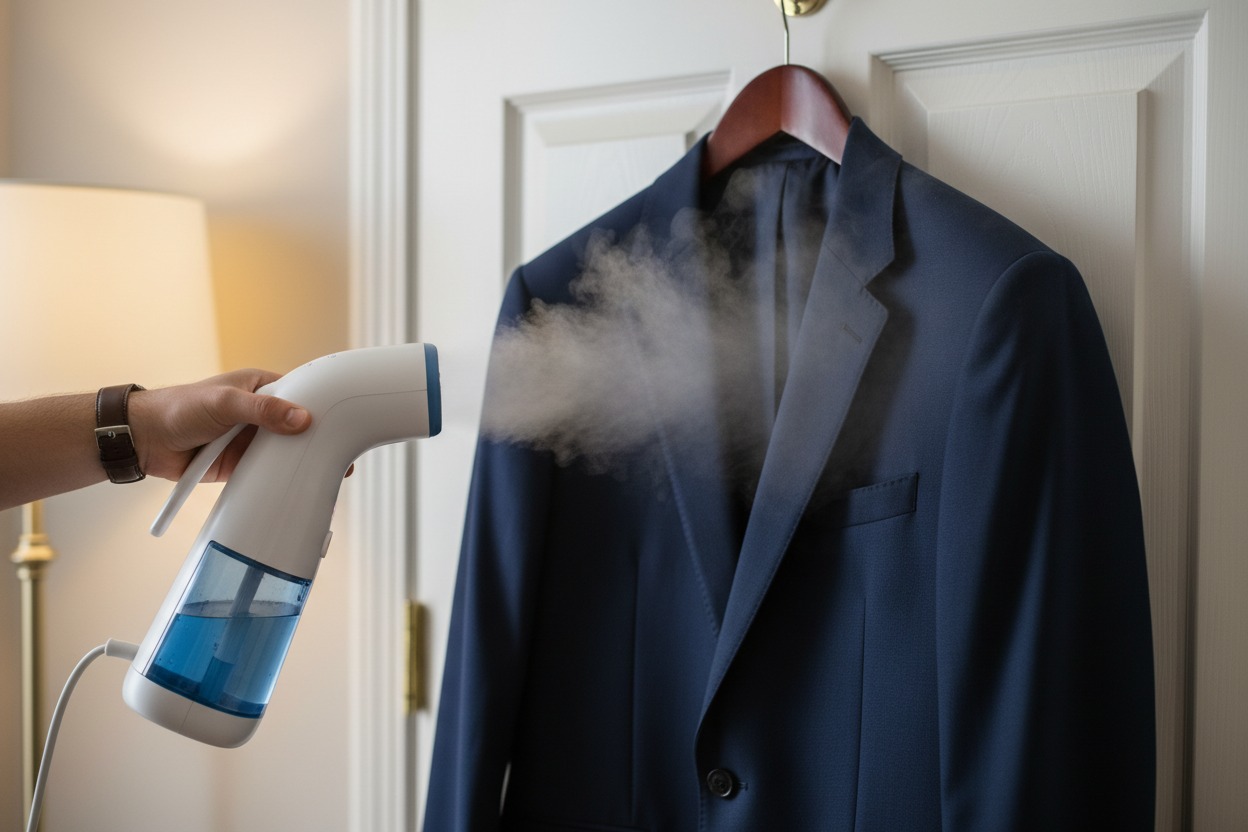
- Hold the steamer head a few inches away from the fabric (never press it directly against delicate materials) and move it in slow, downward strokes.
- Focus on collars, cuffs, underarms, and hemlines. These areas hold the most odor and creasing.
- Let the garment hang and fully air out for at least 30 minutes after steaming before putting it back in the closet. This allows any absorbed moisture to evaporate completely, preventing new mustiness.
Steaming works beautifully as a maintenance step between washes. It extends the time between full cleanings, which is genuinely useful for suits, blazers, and coats that you can’t machine-wash too often.
How to Dry Clean a Suit at Home
Suits deserve their own section because they’re the garment people worry about most, and for good reason. A suit isn’t just fabric; it’s fabric layered over structural interfacing that holds the shape of the shoulders, lapels, and collar.
Here’s the honest breakdown of how to handle one at home.
Step 1: Check the Fabric and Construction
- Wool or wool-blend suits: generally safe for careful home cleaning if unlined or lightly lined.
- Fully lined or heavily structured suits: more risk, since the lining and outer shell can shrink at different rates, causing puckering.
- Linen or cotton suits: the most forgiving. These can typically go through a full, gentle wash cycle without issue.
Step 2: Spot-Treat First
Check the collar, cuffs, underarms, and pocket edges. These areas hold the most oil and sweat. Dab (never rub) with a cloth dampened in cool water and a drop of mild detergent, working from the outside of the stain inward so it doesn’t spread.
Step 3: Choose Your Method
- Jacket: Steam it rather than wash it whenever possible. The structure (shoulder pads, interfacing) is the part most likely to warp in water. If it truly needs a deep clean, hand-wash gently and lay flat to dry. Never hang a wet jacket, since the weight of the water will pull the shoulders out of shape.
- Trousers: These are more washer-friendly since they lack the structural interfacing a jacket has. Turn inside out, place in a mesh bag, and run on a cold, gentle cycle.
- Vest (if three-piece): Treat like the jacket — spot clean and steam rather than fully submerging.
Step 4: Dry and Press Correctly
Lay jackets flat on a towel, reshaping the shoulders and lapels by hand while damp. Once dry, use a steamer (not a direct iron) to finish, holding the fabric taut with your free hand as you steam.
Bottom line on suits: if it’s a $40 blazer from a fast-fashion store, home cleaning is low-risk and worth trying. If it’s a $600 tailored wool suit you wear to client meetings, the smarter move is spot-cleaning and steaming at home for maintenance, and reserving full professional cleaning for once every season or two.
Fabric-by-Fabric Cleaning Guide
Not every “dry clean only” fabric behaves the same way. Here’s a quick reference table.
| Fabric | Home Wash? | Best Method | Watch Out For |
|---|---|---|---|
| Cotton | Yes | Machine, cold, gentle cycle | Shrinkage in hot water |
| Linen | Yes | Machine or hand wash | Wrinkles easily, iron while damp |
| Polyester | Yes | Machine, cold cycle | Static buildup, use dryer balls |
| Wool (sturdy) | Yes, carefully | Hand wash or cold gentle cycle | Felting/shrinking in hot water or agitation |
| Cashmere | Yes, carefully | Hand wash only | Pilling from rough handling |
| Silk | Caution | Hand wash, test colorfastness first | Water spots, dye bleeding |
| Rayon/Viscose | Caution | Hand wash or steam only | Loses shape when wet, shrinks unpredictably |
| Velvet | Caution | Steam only, avoid soaking | Crushed pile, permanent flattening |
| Leather/Suede | No | Professional only | Water causes stiffening and cracking |
| Fur (real) | No | Professional only | Irreversible matting and damage |
| Sequined/beaded | No | Professional or spot clean only | The glue backing dissolves in water |
How to Wash Dry Clean Only Clothes at Home: Stain Removal First
Nine times out of ten, the reason people rush a garment to the cleaners isn’t the fabric. It’s a stain they’re afraid to touch. Attack the stain the moment you notice it, and you’ll need a professional far less often.
Pantry-based stain fixes that actually work:
- Grease or oil stains: Sprinkle baking soda directly on the spot and let it sit for 15–20 minutes to absorb the oil before brushing off and washing as usual.
- Wine or coffee: Blot (don’t rub) with a cloth dipped in cold water, then dab a small amount of white vinegar diluted with water onto the stain before washing.
- Sweat stains on collars/underarms: A paste of baking soda and water, left on for 30 minutes before washing, breaks down the buildup that causes yellowing.
- General “smells off” but no visible stain: Spray lightly with a mix of water and a splash of vodka (odorless once dry). It neutralizes odor-causing bacteria without leaving a scent behind.
If wax ever ends up on a dry-clean-only garment (it happens more than you’d think around the holidays), our step-by-step candle wax removal guide for fabric walks through the freezing-and-blotting method that lifts wax without damaging delicate weaves.
Always test any stain remover on an inside seam first. Even “gentle” solutions like vinegar can affect certain dyes.
Odor Removal Tips for Dry Clean Only Clothes
Odor is trickier than dirt because it’s not always visible. But it’s often the real reason a garment feels “unwearable.”
- Baking soda soak: Lay the garment flat and sprinkle a thin, even layer of baking soda over it. Let it sit for a few hours (overnight for stubborn smells), then shake or brush off.
- Vinegar rinse: For fabrics safe to hand-wash, a 30-minute soak in cold water with a splash of white vinegar neutralizes odors and, as a bonus, can help restore shine to silk.
- Airing out: Sometimes the simplest fix is hanging the garment outside (or near an open window) for a few hours. Fresh air breaks down a surprising amount of trapped odor on its own.
- Fabric-safe fresheners: A light mist of a fabric-safe spray or a few drops of essential oil on a dryer ball can help, but treat this as a finishing touch, not a substitute for actually removing the source of the smell.
If musty or mildew smell is the real issue (common with garments stored in humid closets or basements), it’s worth reading our full guide to removing mildew smell from towels and fabric. The same root-cause approach applies to clothing, not just towels.
Why Home Cleaning Might Actually Be the Healthier Choice
This is the part most articles on this topic leave out entirely, and it’s worth knowing.
Traditional dry cleaning relies on a chemical solvent called perchloroethylene, or “perc.” The EPA’s final risk evaluation of perchloroethylene found that consumers who wear clothes cleaned with the chemical face a risk of neurological effects from skin exposure. The agency has been steadily tightening restrictions on PCE, and in December 2024, it issued a final rule governing its use.
To be clear: this isn’t a reason to panic about every dry-cleaned garment in your closet. The EPA also notes that use of perchloroethylene in dry cleaning has been decreasing as facilities shift to newer technologies and safer alternative solvents. Many dry cleaners today use alternative methods such as liquid CO2 cleaning or professional wet cleaning.
But it does mean that cleaning a garment at home with water, mild detergent, and steam sidesteps the solvent-exposure question entirely — no chemical residue sitting against your skin, no off-gassing in your closet, and no chemical waste stream to worry about. If you’ve ever noticed that slightly sharp, chemical smell on freshly dry-cleaned clothes, that’s the solvent, and it’s one of the things home cleaning eliminates completely.
Pros and Cons of Dry Cleaning at Home
| Pros | Cons |
|---|---|
| Saves money — a full dry-cleaning habit can run $40–$150 a month, while home cleaning costs pennies per load | Doesn’t work for every fabric (leather, fur, heavily structured garments) |
| No exposure to perc or other dry-cleaning solvents | More time and hands-on effort than dropping clothes at a counter |
| Full control over detergent, timing, and handling | Risk of shrinkage or damage if you skip the fabric/colorfastness checks |
| Convenient, no drop-off or pickup schedule | Can’t fully replicate professional stain removal for tough, set-in, or oil-based stains |
| Extends the time between professional cleanings, which is also gentler on fabric long-term | Some structured garments (suit jackets, blazers) still benefit from occasional pro cleaning |
Common Mistakes to Avoid
- Skipping the colorfastness test. This takes 30 seconds and prevents the single most common home-cleaning disaster: bleeding dye.
- Using hot water “to be safe.” Heat is almost always the enemy of delicate fibers. It’s what causes shrinkage, not the water itself.
- Wringing out wet garments. Twisting stretches and distorts fibers permanently. Press and roll in a towel instead.
- Overloading the dryer or washer. Delicate items need room to move gently, not get crushed against other clothes.
- Ignoring “Do Not Wash” symbols. A dry-clean-only tag is negotiable in many cases; a washtub-with-an-X symbol is not.
- Letting stains sit. The longer a stain sets, the more likely it is to become permanent. Treat it the same day if you can.
Expert Tips for Better Results
A few habits separate a good home-cleaning result from a disappointing one:
- Reshape sweaters while they’re still damp, not after they’ve dried. Once dry, the fibers “remember” whatever shape they dried in.
- Never dry delicate fabrics in direct sunlight. UV exposure fades color faster than almost anything else, including regular washing.
- Steam before you wash, not just after. A quick steam loosens dirt and relaxes fibers, which actually makes the wash itself more effective.
- Keep a small bottle of diluted vinegar on hand specifically for odor and colorfastness testing. It’s the single most versatile item in this entire process.
- Rotate your cleaning method by season. Wool coats, for example, do better with steaming through the winter and one deeper hand wash before storage each spring.
When You Should Still Use a Professional Dry Cleaner
Home cleaning is genuinely capable of handling most of your closet, but a few situations are still worth the trip:
- Garments made of real leather, suede, or fur
- Heavily beaded, sequined, or embroidered formalwear
- Wedding gowns and heirloom pieces you can’t risk losing
- Fabrics that failed the colorfastness test
- Set-in, oil-based stains that pantry remedies haven’t budged after one attempt
- Structured suits and blazers you wear for high-stakes professional situations, where even a small shape distortion matters
A good rule: if replacing the item would genuinely upset you, let a professional handle it. Everything else is fair game to try at home first.
FAQs About Dry Cleaning at Home
1. Is it safe to dry clean at home if the tag says “Dry Clean Only”?
In most cases, yes, as long as the fabric passes a colorfastness test and isn’t leather, fur, suede, or heavily structured. Clothing tags marked “dry clean” or “dry clean recommended” can typically be washed at home if you follow the right steps, though a strict “dry clean only” label on delicate fabrics like fur or leather should still go to a professional.
2. Can I dry clean clothes at home without any special products?
Yes. Mild detergent, white vinegar, baking soda, and a steamer cover the vast majority of what a store-bought kit promises, at a fraction of the cost.
3. Will home dry cleaning shrink my clothes?
Only if you use hot water or high heat. Cold water and low-heat drying settings dramatically reduce the risk of shrinkage across almost every fabric type.
4. How often should I actually dry clean a suit?
For a suit worn regularly, professional cleaning every 1–2 months (or after visible soiling) is typical, but steaming and spot-cleaning at home between those cleanings extends the fabric’s life and cuts down on how often you need a full clean.
5. What clothes should never be cleaned at home?
Leather, suede, real fur, fiberglass-lined garments, and anything with delicate beading or glued embellishments should go to a professional; water and household detergents can permanently damage these materials.
Final Thoughts
Dry cleaning at home isn’t about avoiding every trip to the cleaners forever. It’s about knowing which garments genuinely need that chemical process and which ones you’ve been paying for out of habit.
Start small. Pick one “dry clean only” item you’ve been putting off, run the colorfastness test, and try the method that matches its fabric. Once you see how many of your clothes come out looking (and smelling) just as good as they would after a professional dry cleaning, the whole “dry clean only” tag starts to feel a lot less intimidating.
And for the pieces that spill, stain, or start smelling musty along the way, homeupright.com has you covered with more real, tested cleaning guides for exactly those situations.