


How to Remove Candle Wax From Jar (Without Wrecking the Glass)
You burned that candle down to the last flicker, and now you’re staring at a jar with a stubborn, waxy disc stuck to the bottom. Maybe the glass is pretty enough to keep. Maybe you just don’t want to toss a perfectly good container in the trash.
Either way, you’re in the right place.
I’ve cleaned out more candle jars than I can count — from cheap grocery-store finds to the fancy ones with the gold lids — and I’ve tested pretty much every trick the internet suggests. Some work beautifully. Some just make a mess or crack the glass. This guide walks you through the methods that actually hold up, in plain, no-nonsense steps.
By the end, you’ll know exactly how to remove candle wax from jar without scratching it, without breaking it, and without spending a dime on special tools.
The first time I tried, I went straight for a steak knife. Big mistake — I ended up with a jar full of scratches and a wax film that somehow looked worse than before. It took a few burned-out candles (and a lot of trial and error) before I figured out which methods actually work and which ones just make more work for you. That’s what you’re getting here: the shortcuts that skip the scratches.
Why Candle Wax Sticks So Stubbornly to Glass in the First Place
Before you grab a butter knife and start hacking away, it helps to understand what you’re actually up against.
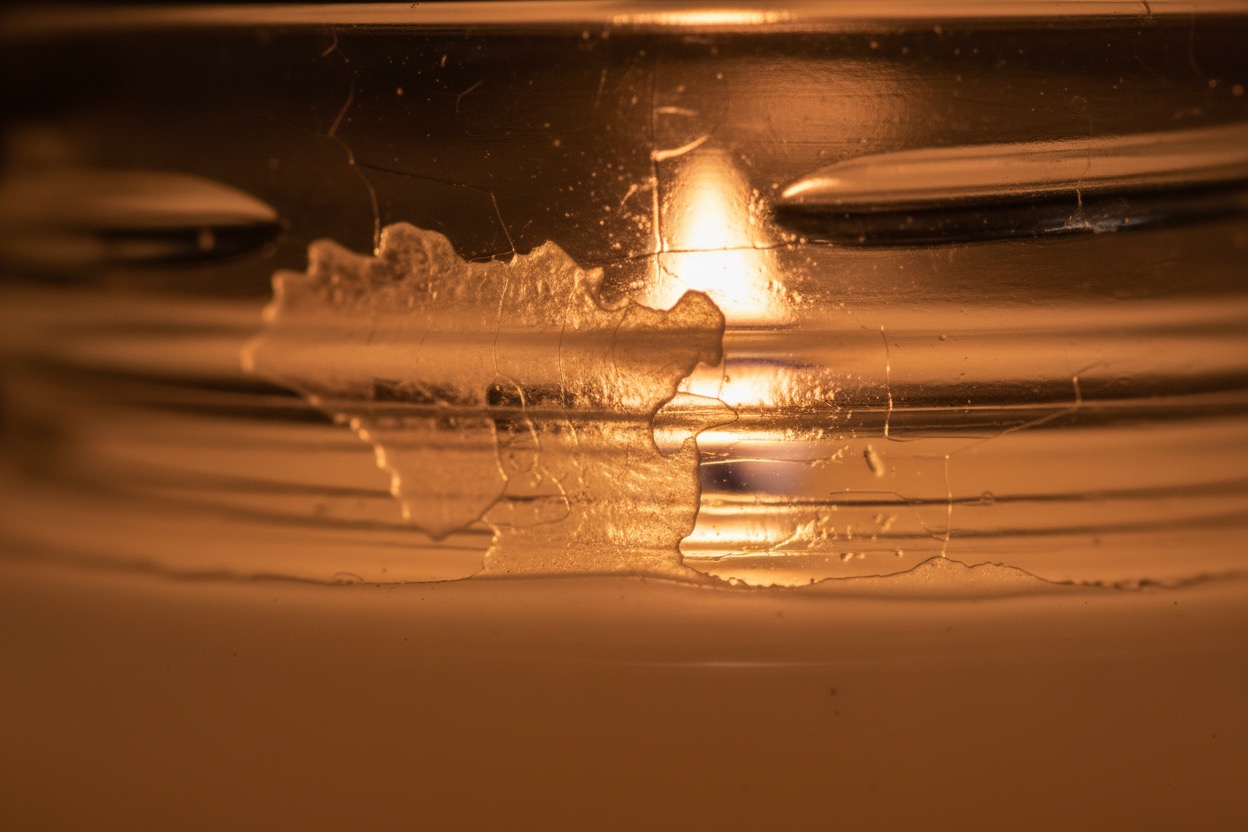
Glass looks perfectly smooth to the eye, but on a microscopic level, it has tiny pores and imperfections. When candle wax is melted and burning, it’s a thin liquid that seeps into those pores. As the jar cools, the wax hardens again and locks itself in place. It almost looks like a plaster cast taking the shape of a mold.
That’s why scraping alone rarely gets you a fully clean jar. You need to either melt the wax again so it releases its grip or cool it so it contracts away from the glass. Every method below relies on one of those two principles.
It’s also worth knowing that not all wax behaves the same way. According to melting-point data compiled by wax suppliers, paraffin wax typically melts between 115°F and 154°F, while soy wax, now common in “clean burning” jar candles, has a melting range of roughly 120°F to 180°F. Beeswax sits even higher, around 144–149°F. This is why soy wax candles often let go of the glass more easily with a simple freeze, while paraffin or beeswax blends sometimes need a bit more heat to fully release.
Types of Candle Wax and How Each One Behaves
Not every candle jar is fighting you the same way. The wax type inside determines whether cold or heat will work faster, so it helps to know what you’re dealing with before you pick a method.
Paraffin wax is the most common wax in mass-market candles. It’s petroleum-derived, has a melting point that generally falls between 115°F and 154°F, and tends to release from glass fairly easily once melted, which is why the boiling water and oven methods work so well on it.
Soy wax has become the go-to choice for “clean burning” and eco-conscious candle brands. It’s made by hydrogenating soybean oil and has a melting range of about 120°F to 179°F, but in practice, many soy blends soften at the lower end of that range. This is exactly why the freezer method tends to work so well on soy candles. The wax is naturally softer and more prone to contracting away from glass when chilled.
Beeswax sits at the higher end, generally melting between 143°F and 149°F. It’s denser and stickier than paraffin or soy, so it usually needs a proper heat method (boiling water or oven) rather than just a freezer session.
Coconut wax and wax blends are increasingly common in premium candles. These tend to behave similarly to soy — soft, and freezer-friendly — but blends with paraffin added for a stronger scent throw may need a bit more heat to fully clear.
If you’re not sure what’s in your candle, check the label or the brand’s website. Most candle makers list the wax type, and it’s a quick way to decide whether to reach for the freezer or the kettle first.
How Long Does It Actually Take to Remove Candle Wax From a Jar?
This depends entirely on the method and how much wax you’re dealing with. Here’s a realistic breakdown:
- Thin wax film (last quarter-inch of a nearly finished candle): 15–30 minutes using ice cubes or a quick hairdryer session.
- Moderate wax layer (half-burned candle): 1–2 hours with the freezer method, or 20–30 minutes with boiling water.
- Thick, uneven wax buildup (candle that tunneled or burned unevenly): Best handled overnight in the freezer, followed by a hot water rinse the next day to catch any leftover film.
If you’re in a hurry, boiling water is almost always your fastest option. If you’ve got time to spare and want a completely hands-off approach, the freezer wins every time.
You can also read our other blog posts about removing the wax. These are the posts:
Removing Wax From Different Container Materials
Not every candle comes in a plain glass jar. Here’s how to adjust your approach depending on what you’re working with.
Ceramic and Stoneware Candle Containers
Ceramic holds heat differently than glass, and it’s generally more heat-tolerant, making both the oven and boiling water methods safe choices. Avoid the freezer-to-boiling-water combo here, too. Ceramic can crack from rapid temperature swings just like glass can. Stick with one temperature extreme at a time, and let the container return to room temperature before switching.
Metal Tin Candles
Metal conducts heat fast, so a hairdryer or a few minutes in a warm (not hot) oven will loosen the wax quickly. Never put a metal tin in the freezer expecting the same shrink-and-pop effect you get with glass. Metal doesn’t contract enough to release the wax the same way. Boiling water works well here, too: just don’t submerge the tin fully, since most aren’t sealed and water can seep behind the label or cause rust over time.
Concrete and Cement Candle Vessels
These trendy, minimalist candle holders are porous, so wax can seep slightly into the surface. The oven method (low heat, short duration) tends to work best, paired with a rubbing alcohol wipe-down afterward to lift any wax that’s soaked into the surface texture.

What You’ll Need Before You Start
You don’t need anything fancy. Most of these items are already in your kitchen.
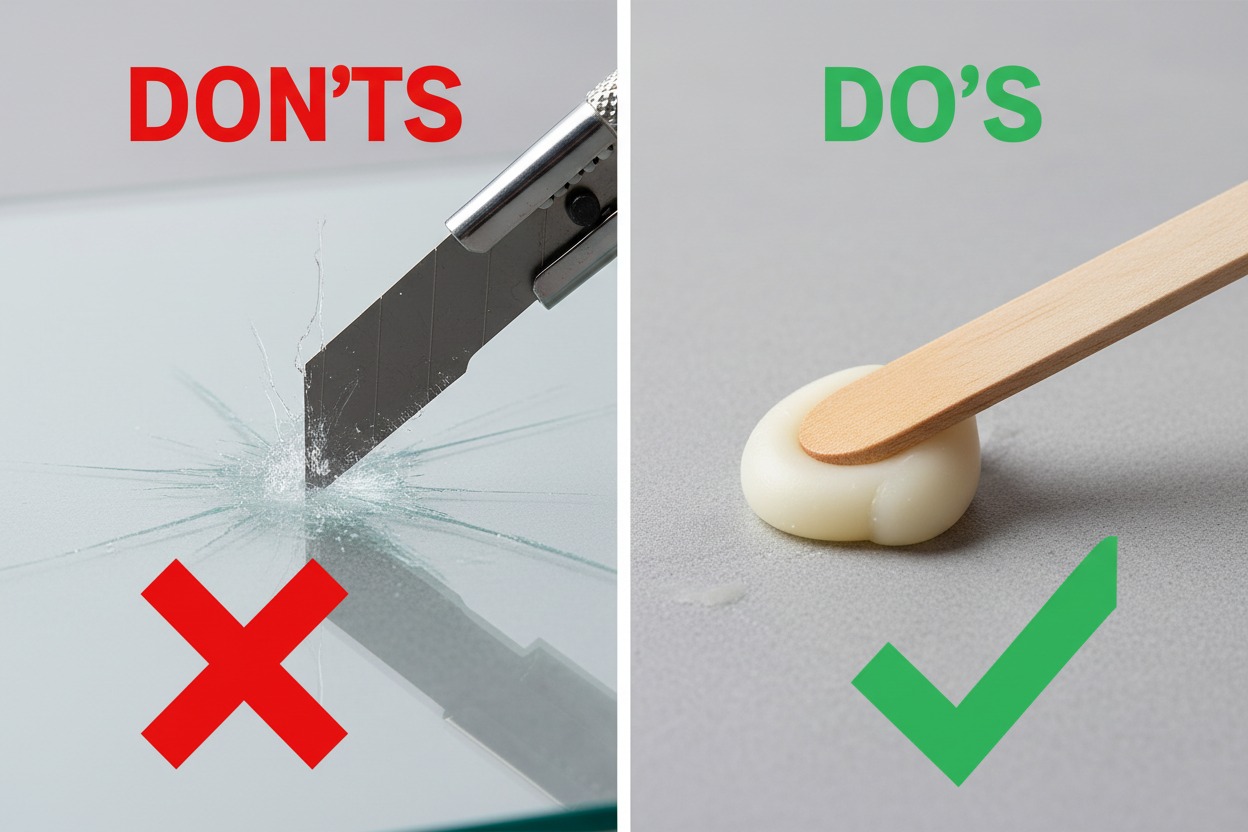
- A butter knife, plastic scraper, or wooden popsicle stick (never metal blades on delicate glass — more on that later)
- A saucepan or kettle for boiling water
- Paper towels or old rags
- Dish soap
- Rubbing (isopropyl) alcohol, for the final polish
- A freezer with enough space for the jar
- Oven mitts or a folded towel, if you’re using the hot water method
- Optional: a hairdryer or heat gun, white vinegar, and a butter knife for wick removal
That’s it. No expensive wax-removal kits required.
How to Remove Candle Wax From Jar: 5 Tested Methods
Here’s the part you came for. I’ve ranked these from easiest to most hands-on, so pick whichever fits your patience level and what’s already in your kitchen.
1. The Freezer Method (Easiest, Best for Beginners)
This is the method most cleaning guides and even the National Candle Association point to first, and it’s the one I reach for 9 times out of 10.
Cold temperatures make wax contract and become brittle. Since wax and glass shrink at different rates, the wax pulls away from the jar walls just enough to pop loose.
Steps:
- Remove any loose wax or the metal wick tab you can pull out by hand.
- Place the jar in the freezer, standing upright, for at least 2–4 hours. Overnight works even better for thicker wax layers.
- Take the jar out and immediately turn it upside down over a trash bag or old newspaper.
- Gently tap the bottom, or use a butter knife or wooden stick to pry around the edges. The frozen wax disc should pop or crack loose in large pieces.
- Wipe out any remaining residue with a paper towel.
Pro tip: Don’t leave the jar out at room temperature for too long before you start prying — as it warms up, the wax becomes soft and sticky again instead of brittle.
Best for: Soy wax candles, thinner wax layers, and anyone who wants a mess-free, zero-heat option.

2. The Boiling Water Method (Best for Thick or Stubborn Wax)
This is my go-to when the freezer method leaves a thin film behind, or when I’m dealing with a candle that’s burned unevenly and left a thick wax wall on one side.
The idea is simple: wax floats on water and has a lower density, so once it melts, it rises to the surface, where you can lift it out once the water cools.
Steps:
- First, remove as much loose wax as you can with a butter knife.
- Boil a pot of water on the stove.
- Place your empty jar (make sure it’s at room temperature, not freezing cold, to avoid thermal shock) on a heat-safe surface, such as a wooden cutting board.
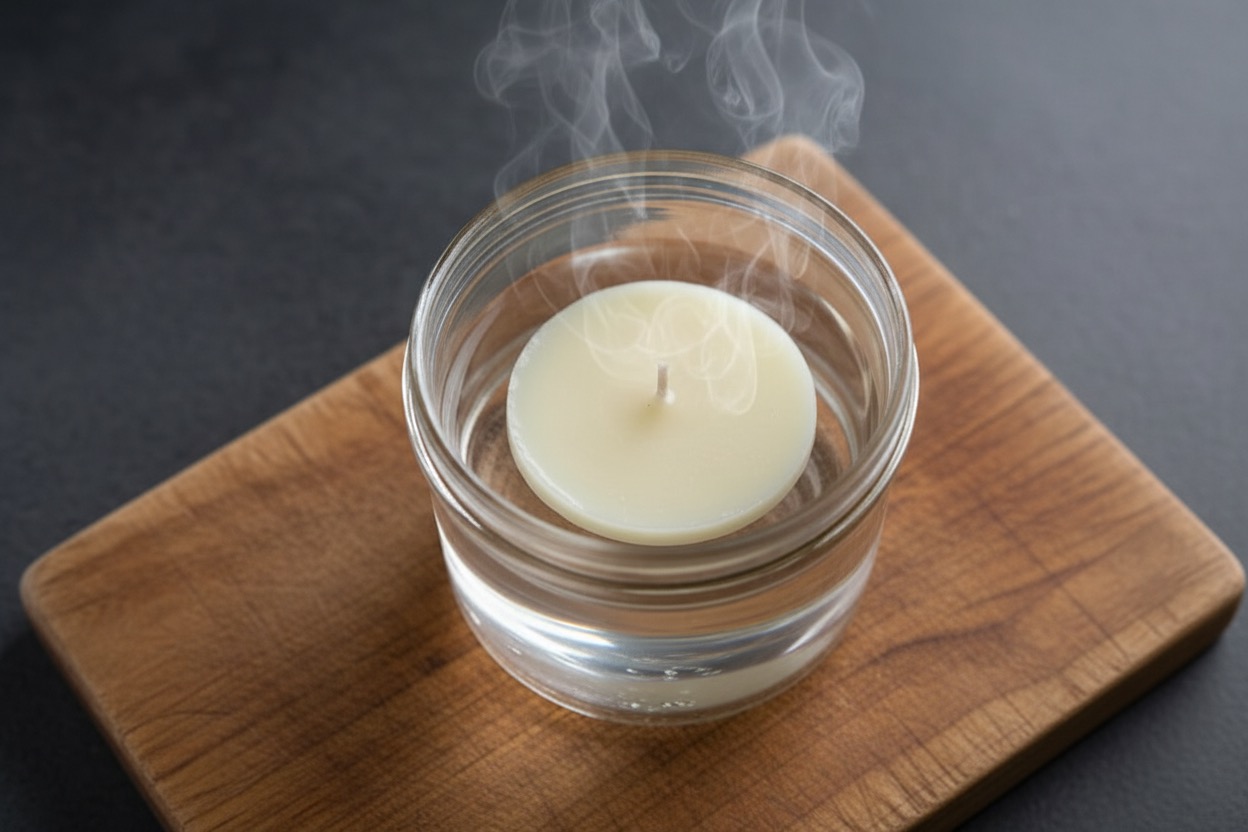
- Carefully pour the boiling water into the jar, leaving about an inch of space at the top.
- Let it sit for 5–10 minutes. You’ll see the wax melting and floating up.
- Let the water cool completely at room temperature. The wax will re-harden into a solid disc floating on top.
- Lift the wax disc out with a fork or spoon, then pour the water down an outdoor drain or into the trash — never your kitchen sink (we’ll get to why in a minute).
- Wipe the jar clean with a soapy cloth.
Safety note: Glass can crack from sudden temperature changes. Never pour boiling water into a jar straight out of the freezer, and avoid using thin or already-chipped glass for this method.
Best for: paraffin and beeswax candles, jars with thick wax buildup, and situations where you want the wax to fully melt out in one go.
3. The Oven Method (Best for Multiple Jars at Once)
If you’re cleaning out a whole shelf of candle jars, the oven method saves time because you can do several at once.
Steps:
- Preheat your oven to its lowest setting — usually around 170°F.
- Line a baking sheet with aluminum foil, then a layer of parchment paper on top (this catches melted wax and makes cleanup easy).
- Place the jars upside down on the sheet, spaced apart.
- Bake for 10–15 minutes, checking often. The wax will melt and drip out onto the parchment paper.
- Using oven mitts, remove the jars and wipe the rims clean while the wax is still warm.
- Let the parchment paper cool completely, then peel off the hardened wax and discard it.
Word of caution: Never leave jars unattended in the oven, and don’t go above 200°F — glass candle jars aren’t all rated for high heat, and some can crack or shatter. This method works best with plain glass jars, not those with decorative labels, paint, or metallic finishes, which can be damaged by prolonged heat exposure.
Best for: Batch-cleaning several jars, and thick paraffin wax that needs sustained gentle heat to fully drain.

4. The Hairdryer or Heat Gun Method (Best for Spot Cleaning)
Sometimes you don’t need to melt the whole jar’s worth of wax — just a stubborn smear on one side. That’s where a hairdryer earns its keep.
Steps:
- Set your hairdryer to its highest heat setting.
- Hold it about 4–6 inches from the wax, moving it in small circles so you don’t overheat one spot.
- Once the wax softens and turns glossy, wipe it away immediately with a paper towel.
- Repeat for any remaining patches.
- Finish with a soapy wipe-down.
If you have a heat gun, it works even faster, but keep it moving constantly. Heat guns can get hot enough to crack glass or melt plastic parts of the jar if held too close for too long.
Best for: Small wax smudges, wax on the outside of the jar, or touch-ups after using the freezer or boiling water method.

5. The Ice Cube Trick (Best for a Quick, No-Wait Fix)
Don’t have hours to spare for the freezer method? This is the fast version.
Steps:
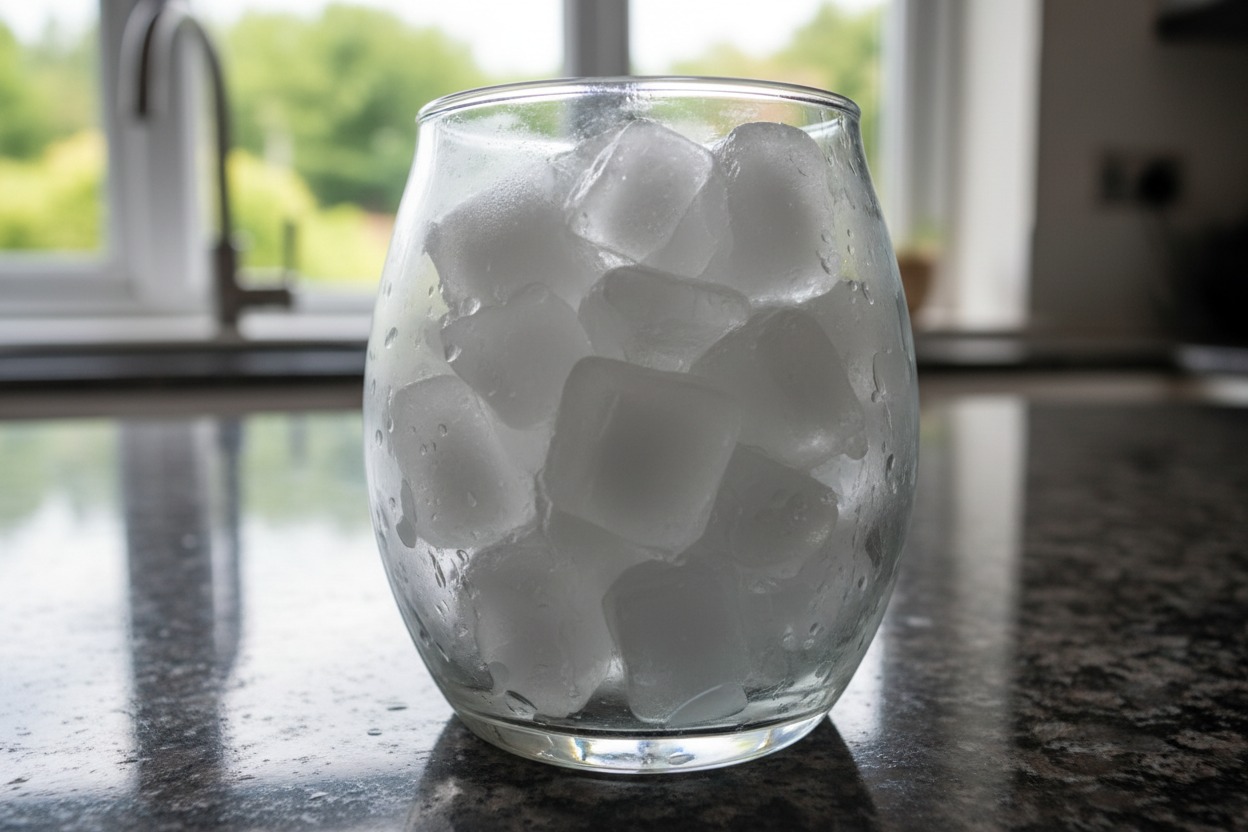
- Fill the jar with ice cubes instead of freezing the whole jar.
- Let it sit for 15–20 minutes. Direct contact with ice chills the wax quickly, without requiring the whole jar to drop in temperature.
- Empty the ice, then use a butter knife or wooden stick to chip the now-brittle wax away.
- Wipe clean.
Best for: When you need a clean jar in under 30 minutes and don’t want to wait for a full freezer cycle.
If your wax jar has a sticker, you can read this blog post: How to Remove Stickers From Glass Without Damaging It.
Comparison Table: Which Wax Removal Method Should You Use?
| Method | Time Needed | Best For | Difficulty | Mess Level |
|---|---|---|---|---|
| Freezer | 2–24 hours | Soy wax, thin layers | Easy | Low |
| Boiling water | 15–30 minutes | Thick or stubborn wax | Easy | Medium |
| Oven | 15–25 minutes | Multiple jars at once | Medium | Medium |
| Hairdryer/heat gun | 5–10 minutes | Spot cleaning, smudges | Medium | Low |
| Ice cubes | 15–20 minutes | Quick fixes, no planning ahead | Easy | Low |
How to Remove Candle Wax From Glass (Beyond Just Jars)
The methods above work for straight-sided jars, but glass comes in all kinds of shapes — tealight cups, hurricane vases, votive holders. Here’s how to adjust.
How to Remove Wax From Glass Candle Holder
Glass candle holders are often narrower and more delicate than jar candles, so a slightly gentler touch matters.
- Narrow-necked holders: The boiling-water method works best here, since you can’t easily reach in with a knife. Pour hot water in, let the wax float up, then pour it out once it has cooled.
- Wide, shallow dishes: The freezer or ice-cube method works well since you have easy access to chip and scrape.
- Frosted or etched glass: Stick to the freezer or hot water methods only. Scraping with anything sharp can permanently dull the frosted texture.
How to Remove Wax From a Glass Candle Holder With Tight Corners
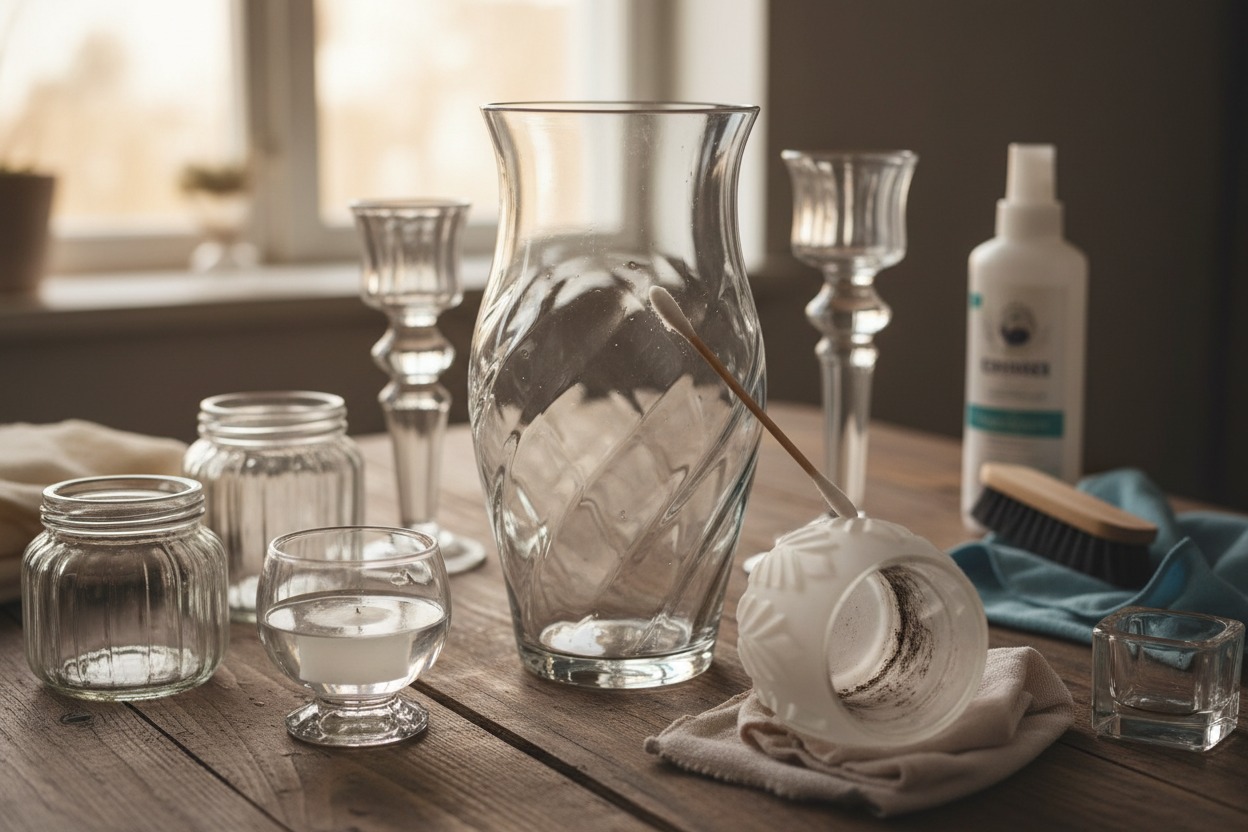
For holders with grooves, ridges, or decorative cutouts where wax hides in the crevices, a cotton swab dipped in rubbing alcohol works wonders once most of the wax is already out. It gets into small gaps that a cloth can’t reach.
Removing the Wick, Wick Tab, and Sticky Residue
Getting the wax out is only half the job. Most jar candles leave behind a metal wick tab glued to the bottom, plus sometimes a label or sticker.
To remove the wick tab:
Once the bulk of the wax is gone, the small metal tab holding the wick in place is usually loose enough to lift out with tweezers or your fingers. If it’s still glued down, a few seconds of hot water or a hairdryer blast will loosen the adhesive.
To remove labels and stickers:
Soak the jar in warm, soapy water for 10–15 minutes. Most labels peel off easily after that. For any leftover sticky residue, rubbing alcohol or a vinegar soak (about 30–40 minutes) breaks down the adhesive without damaging the glass.
A word on drains: Never pour melted wax — even small amounts — down your kitchen sink. Wax behaves like grease: it doesn’t dissolve in water and rehardens as soon as it hits cooler pipes, which can clog your plumbing over time. Always let the wax solidify, then throw it in the trash, or wipe it with a paper towel first.
Cleaning and Polishing the Jar After the Wax Is Out
Once the wax is gone, your jar might still look a little cloudy or streaky. Here’s how to get it truly spotless:
- Wash with warm, soapy water and a soft sponge.
- For any lingering wax film, wipe with a paper towel dipped in rubbing alcohol. It cuts through oily residue that soap alone won’t fully remove.
- Dry with a lint-free cloth for a streak-free shine.
- If the jar smells like old fragrance oil, let it air out with the lid off for a day, or wipe the inside with a vinegar-water solution.
Common Mistakes to Avoid When Removing Candle Wax
- Using metal knives or screwdrivers to scrape. Metal is harder than glass and can leave permanent scratches that trap dirt and soot, making the jar look worn no matter how much you clean it.
- Pouring wax down the sink. As mentioned above, it hardens in your pipes and can cause blockages over time.
- Going straight from freezer to boiling water (or vice versa). The sudden temperature swing can crack or shatter glass. Let the jar return to room temperature between hot and cold steps.
- Microwaving the jar to melt the wax. Wick tabs are metal, and metal in a microwave is a fire hazard. Skip this method entirely.
- Leaving candles burning unattended while “waiting for it to burn down evenly.” This isn’t just a cleaning tip — it’s a real safety issue. U.S. fire departments respond to thousands of home fires started by candles every year, and the National Fire Protection Association reports an annual average of roughly 7,610 home structure fires caused by candles, with December being the peak month. Keeping candles away from flammable materials and never leaving them unattended are just as important as knowing how to clean the jar afterward.
Expert Tips for Getting a Flawless, Reusable Jar
After going through this process more times than I can count, here are the small details that make the biggest difference:
- Match the method to the wax type. Soy wax responds beautifully to cold (freezer/ice), while paraffin and beeswax usually need heat to fully let go. If you’re not sure what wax your candle is made of, check the label — most reputable brands list it.
- Don’t rush the cooling step in the boiling water method. Pulling the wax disc out while the water is still warm means it’ll be soft and messy, rather than a clean, solid piece you can lift out whole.
- Layer your methods. Freeze first to loosen the bulk of the wax, then follow with a quick hot-water rinse to clear the remaining thin film. This two-step combo gets jars cleaner than any single method alone.
- Test heat-based methods on one jar first if you’re cleaning a set with painted or metallic exteriors. Some finishes don’t hold up well to prolonged heat.
- Keep a designated “wax jar” in your kitchen for melted wax scraps. Once you’ve collected enough, you can remelt it into a homemade wax warmer or scent sachet instead of throwing it away.
What to Do With Your Clean Candle Jar (Reuse Ideas)
Once your jar is spotless, don’t let it collect dust in a cabinet. Some practical, low-effort ways to reuse it:
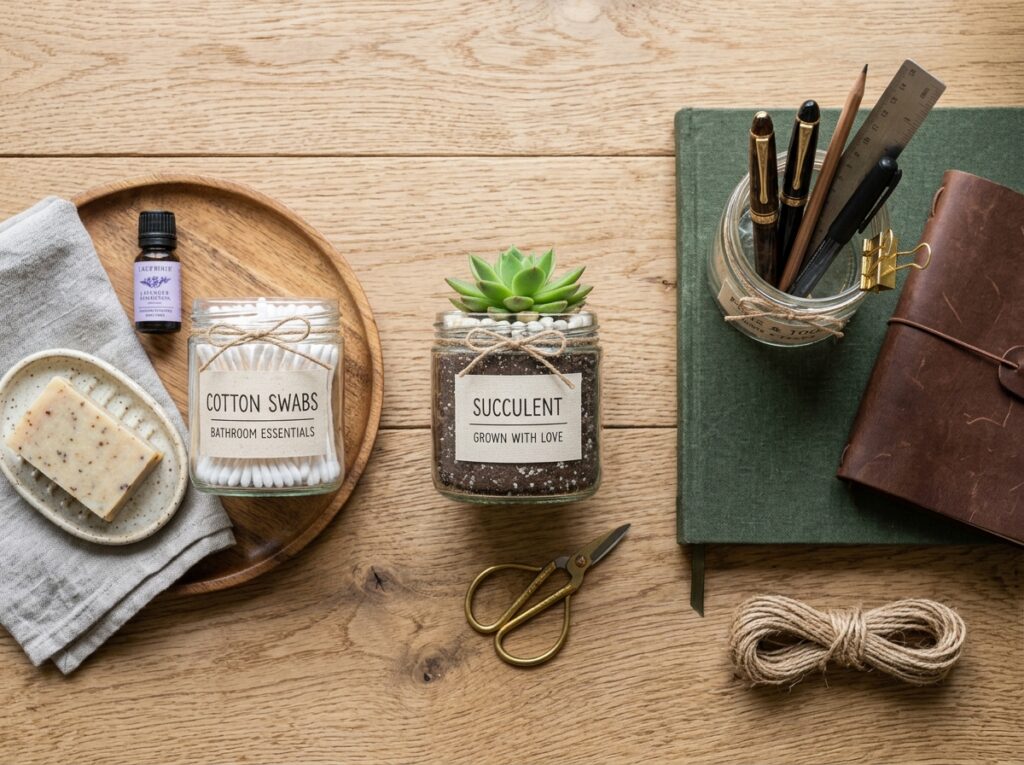
- Storage: cotton swabs, hair ties, paperclips, or bathroom essentials
- Planters: small succulents or herbs (add a layer of pebbles first for drainage)
- Desk organizer: pens, pushpins, and small office supplies
- Mini vase: perfect for a small handful of fresh flowers
- DIY refill: many candle-making brands sell refill wax and wick kits designed specifically to fit reused jars, so you can turn it into a brand-new candle instead of buying a new container
Pros and Cons of Each Wax Removal Method
| Method | Pros | Cons |
|---|---|---|
| Freezer | No heat, no supervision needed, safest for beginners | Takes hours, doesn’t always clear thin film completely |
| Boiling water | Fast, very thorough | Requires careful handling of hot water and glass |
| Oven | Great for batches | Needs constant monitoring, risk of overheating |
| Hairdryer | Fast, precise, good for touch-ups | Not efficient for large amounts of wax |
| Ice cubes | Quick, no planning ahead needed | Best for thin wax layers only |
Frequently Asked Questions
1. How to remove candle wax from jar without breaking the glass?
The safest option is the freezer method. Cold temperatures cause the wax to contract and pop loose, reducing the risk of thermal shock, which is the main reason glass cracks during wax removal. Avoid moving jars quickly between hot and cold temperatures.
2. How to remove wax from candle jar if it’s stuck to the bottom in a thick layer?
Use the boiling water method. Pour hot water directly onto the wax, let it melt and float to the top, then let the water cool so the wax hardens into a disc you can lift out in one piece.
3. Can I reuse candle jars after removing the wax?
Absolutely. Once you’ve fully removed the wax, wick tab, and any adhesive residue, a wash with soap and warm water (plus a wipe-down with rubbing alcohol) leaves the jar ready for storage, planting, or even a homemade candle refill. This discussion naturally leads to How to Remove Avocado Stains for Good. That article covers a connected topic and can help fill in a few details that are only touched on here.
4. How to remove wax from a candle jar without a knife?
The oven method and the boiling water method both melt wax out entirely, so you don’t need to scrape or pry at all. These are the best knife-free options, especially for jars you want to keep scratch-free.
5. Is it safe to pour melted candle wax down the drain?
No. Wax doesn’t dissolve in water and will re-harden inside your pipes, which can cause clogs over time — the same way pouring cooking grease down a sink causes plumbing problems. Always let the wax solidify and dispose of it in the trash.
Final Thoughts
Cleaning out a candle jar isn’t complicated once you understand the two basic tricks: melt it or freeze it. Whichever method you choose, the goal is the same — work with the wax’s natural behavior instead of fighting it with a knife.
Next time you burn a candle down to the last inch, don’t toss the jar. Grab whichever method fits your schedule — even 20 minutes with an ice tray can turn a wax-caked container into something worth keeping.
Got a jar with really stubborn residue? Try combining the freezer method with a quick hot water rinse — that one-two combo handles almost anything. And if you’re setting up new candles at home, keep an eye on candle safety basics from the NFPA so you get the most life (and reuse potential) out of every jar you burn.